
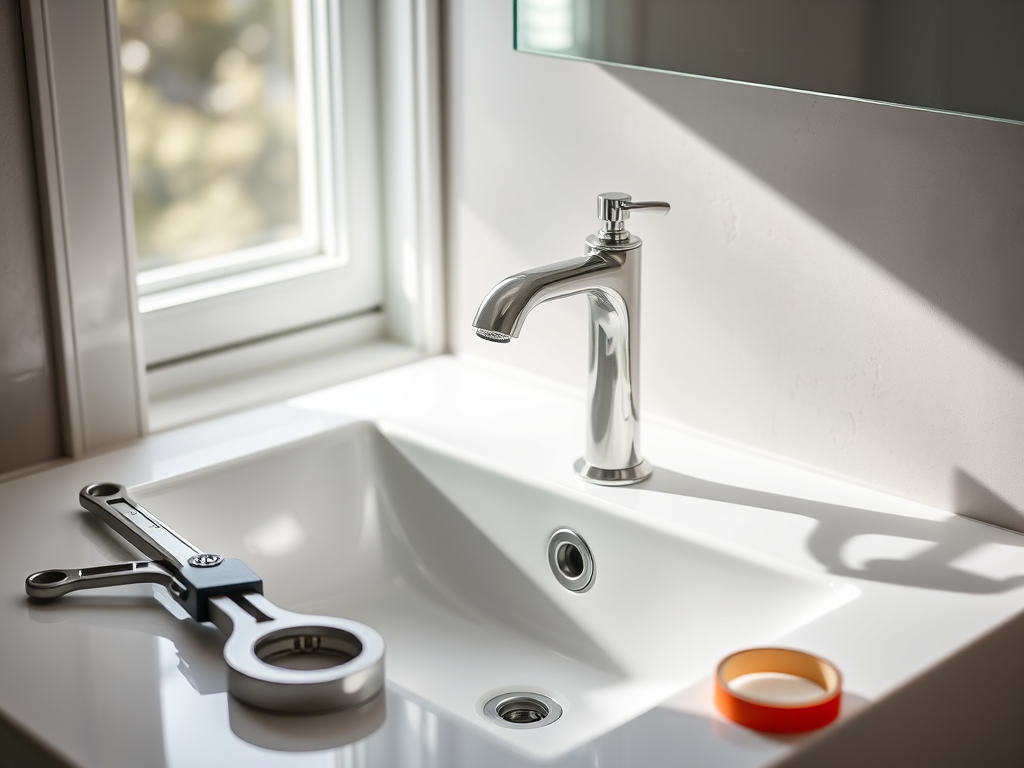
- Tools and Materials You’ll Need:
- Step 1: Turn Off the Water Supply
- Step 2: Remove the Old Faucet
- Step 3: Clean the Sink Surface
- Step 4: Install the New Faucet
- Step 5: Tighten the Mounting Nuts
- Step 6: Connect the Water Supply Lines
- Step 7: Turn on the Water and Check for Leaks
- Step 8: Clean Up and Enjoy Your New Faucet
Use an adjustable wrench to disconnect the water supply lines from the old faucet. Place a bucket or towel underneath to catch any water. Next, unscrew the nuts holding the faucet in place using a basin wrench. Lift the old faucet off the sink.
Installing a new vanity faucet can instantly update your bathroom’s look. Don’t worry if you’ve never tackled this type of home project before—it’s easier than you might think! Follow this simple guide to replace your old faucet with a fresh new one.
Tools and Materials You’ll Need:
- Adjustable wrench
- Basin wrench
- Bucket or towel
- Plumber’s tape
- New vanity faucet
- Silicone sealant (optional)
Step 1: Turn Off the Water Supply
Before you start, make sure to turn off the water supply to your faucet. You can usually find the shut-off valves under the sink. Twist them clockwise to close. Then, turn on the faucet to let any remaining water drain out.
Step 2: Remove the Old Faucet
Step 3: Clean the Sink Surface
Before installing the new faucet, clean the area around the holes to remove any old sealant or grime. This will help ensure a secure fit for the new faucet.
Step 4: Install the New Faucet
Place the new faucet into the holes on the sink. If your faucet requires a gasket, place it underneath to create a watertight seal. If it doesn’t have one, apply a thin bead of silicone sealant around the base.
Step 5: Tighten the Mounting Nuts
From underneath the sink, screw on the mounting nuts by hand first, then use the basin wrench to tighten them securely. Be careful not to overtighten, as this could crack the sink.
Step 6: Connect the Water Supply Lines
Attach the water supply lines to the new faucet using your adjustable wrench. Make sure to connect the hot water line to the left and the cold water line to the right. Use plumber’s tape on the threads to prevent leaks.
Step 7: Turn on the Water and Check for Leaks
Slowly turn the shut-off valves back on and then turn on the faucet. Check for leaks around the connections and the base of the faucet. If you notice any leaks, tighten the connections or add more plumber’s tape.
Step 8: Clean Up and Enjoy Your New Faucet
Wipe away any excess silicone sealant, if used, and clean the area around the faucet. That’s it—you’ve successfully installed your new vanity faucet!
Tips:
- If your new faucet comes with a pop-up drain, follow the manufacturer’s instructions for installing it.
- Keep a towel handy for any water spills during installation.
- For added durability, use high-quality plumber’s tape on all threaded connections.
Now you can enjoy your newly upgraded bathroom vanity
Leave a Reply