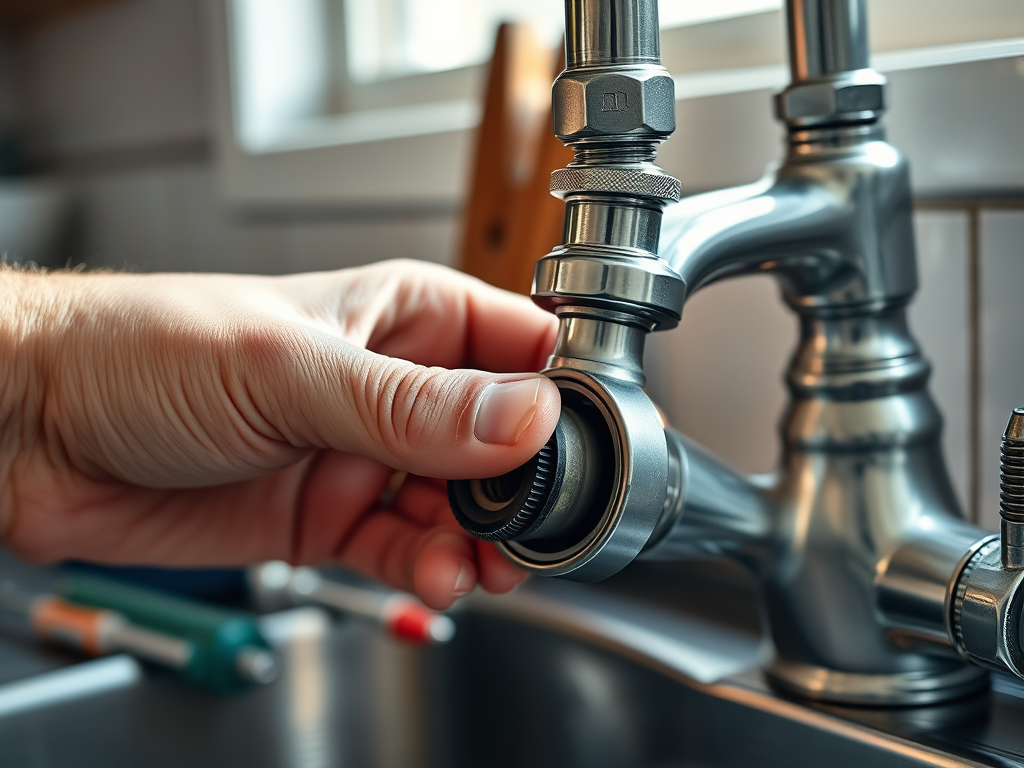
If left unchecked, a leaky kitchen faucet can be annoying and waste gallons of water. The good news is, you don’t need to be a plumbing expert to fix it! This guide will walk you through everything you need to stop that pesky drip.
🛠️ Tools and Materials Needed:
- Adjustable wrench
- Screwdriver (Phillips and flat-head)
- Replacement parts (O-rings, washers, or cartridge)
- Plumber’s grease
- Pliers
- Allen wrench (hex key set)
- Bowl or cup (to catch small parts)
- Towel or rag
Step 1: Turn Off the Water Supply
Before you start any repairs, turn off the water supply. Look under your sink for the water shut-off valves and twist them clockwise to close. If you can’t find the valves, you might need to turn off the main water supply for your home.
👉 Pro Tip: Open the faucet to release any remaining water pressure and prevent a mess.
Step 2: Plug the Sink Drain
Use a towel or plug to block the drain. This will keep small screws or parts from accidentally falling into the sink while you’re working.
Step 3: Identify the Type of Faucet
There are four common types of kitchen faucets:
- Ball Faucet (single handle with a ball inside)
- Cartridge Faucet (single or double handle with a movable cartridge)
- Compression Faucet (two handles with rubber washers)
- Ceramic Disk Faucet (single handle with a ceramic cylinder)
Identify your faucet type, as this will help you know which parts may need replacing.
Step 4: Disassemble the Faucet Handle
Use a screwdriver or Allen wrench to remove the handle. Look for a small screw at the base or under a decorative cap. Carefully unscrew it and set the handle aside.
👉 Tip: Take a photo before disassembly so you can remember the order of the parts.
Step 5: Inspect and Replace Worn Parts
- Ball Faucet: Check the ball, springs, and cam. Replace any worn-out parts.
- Cartridge Faucet: Pull out the cartridge and check for cracks. If damaged, replace it.
- Compression Faucet: Look at the rubber washers and O-rings. Replace them if they appear worn or brittle.
- Ceramic Disk Faucet: Inspect the ceramic cylinder. Clean it or replace it if needed.
Most leaks are caused by worn O-rings, seals, or washers. Replacing these small parts is often an easy fix.

Step 6: Apply Plumber’s Grease
Before reassembling, apply a small amount of plumber’s grease to the new parts. This helps create a watertight seal and prevents future leaks.
Step 7: Reassemble the Faucet
Put the faucet back together in the reverse order of how you disassembled it. Make sure each part is secure but be careful not to overtighten, as this can damage the parts.
Step 8: Turn On the Water Supply and Test
Slowly turn the water supply back on. Test the faucet to make sure it no longer leaks. If you still notice a drip, double-check that all parts are correctly installed and tightened.
Step 9: Check for Any Leaks Around the Base
Wipe the faucet and surrounding area dry. Then, run the water for a few minutes and check for any leaks around the base or handles.
👉 Bonus Tip: If your faucet continues to leak, it might be time to replace the entire faucet. Look for a model with a lifetime warranty to save on future repairs.
FAQs About Fixing a Leaky Kitchen Faucet
Q: Why is my kitchen faucet still leaking after replacing the parts?
A: If you’ve replaced the O-rings, washers, and cartridge, but the faucet still leaks, the issue might be with the valve seat. This part can corrode over time and may need to be resurfaced or replaced.
Q: How do I know which replacement parts to buy?
A: Take the old parts to your local hardware store, or look up your faucet model online for compatible replacements. Many stores carry repair kits for common faucet types.
Q: How often should I check for leaks?
A: It’s a good idea to inspect your faucet every 6-12 months. Regular maintenance can help catch small problems before they turn into bigger issues.
Fixing a leaky kitchen faucet is easier than you think. By following this guide, you can save money, reduce water waste, and keep your kitchen running smoothly. Have any other plumbing tips or issues you want us to cover? Leave a comment below!
Leave a Reply